Showing posts with label patterns. Show all posts

Monday, July 28, 2014

A Great PJ Pattern

If you are looking for a new pajama pattern with lots of options...look no further. GYCT Designs has a new one, released today, that has now become my girl's favorite pajamas.
 It's for knits and it has lots of options. 2 different tops, short sleeve or long, color block or not and shorts or pants.  I'm telling you, this pattern has it covered for year round pjs!
 If you are interested, first you should check out the blog post over at GYCT because she is giving away 2 copies!
 But if you don't want to wait, it will be on sale until Wednesday too.
 So go check it out HERE or HERE.
It really is a great pattern and would be a perfect pattern to jump into sewing with knits.  


Sunday, June 15, 2014

Matinee Dress Tour Times Two

I have the wonderful honor to present to you the lovely Matinee Dress brought to you by Jennuine Design.
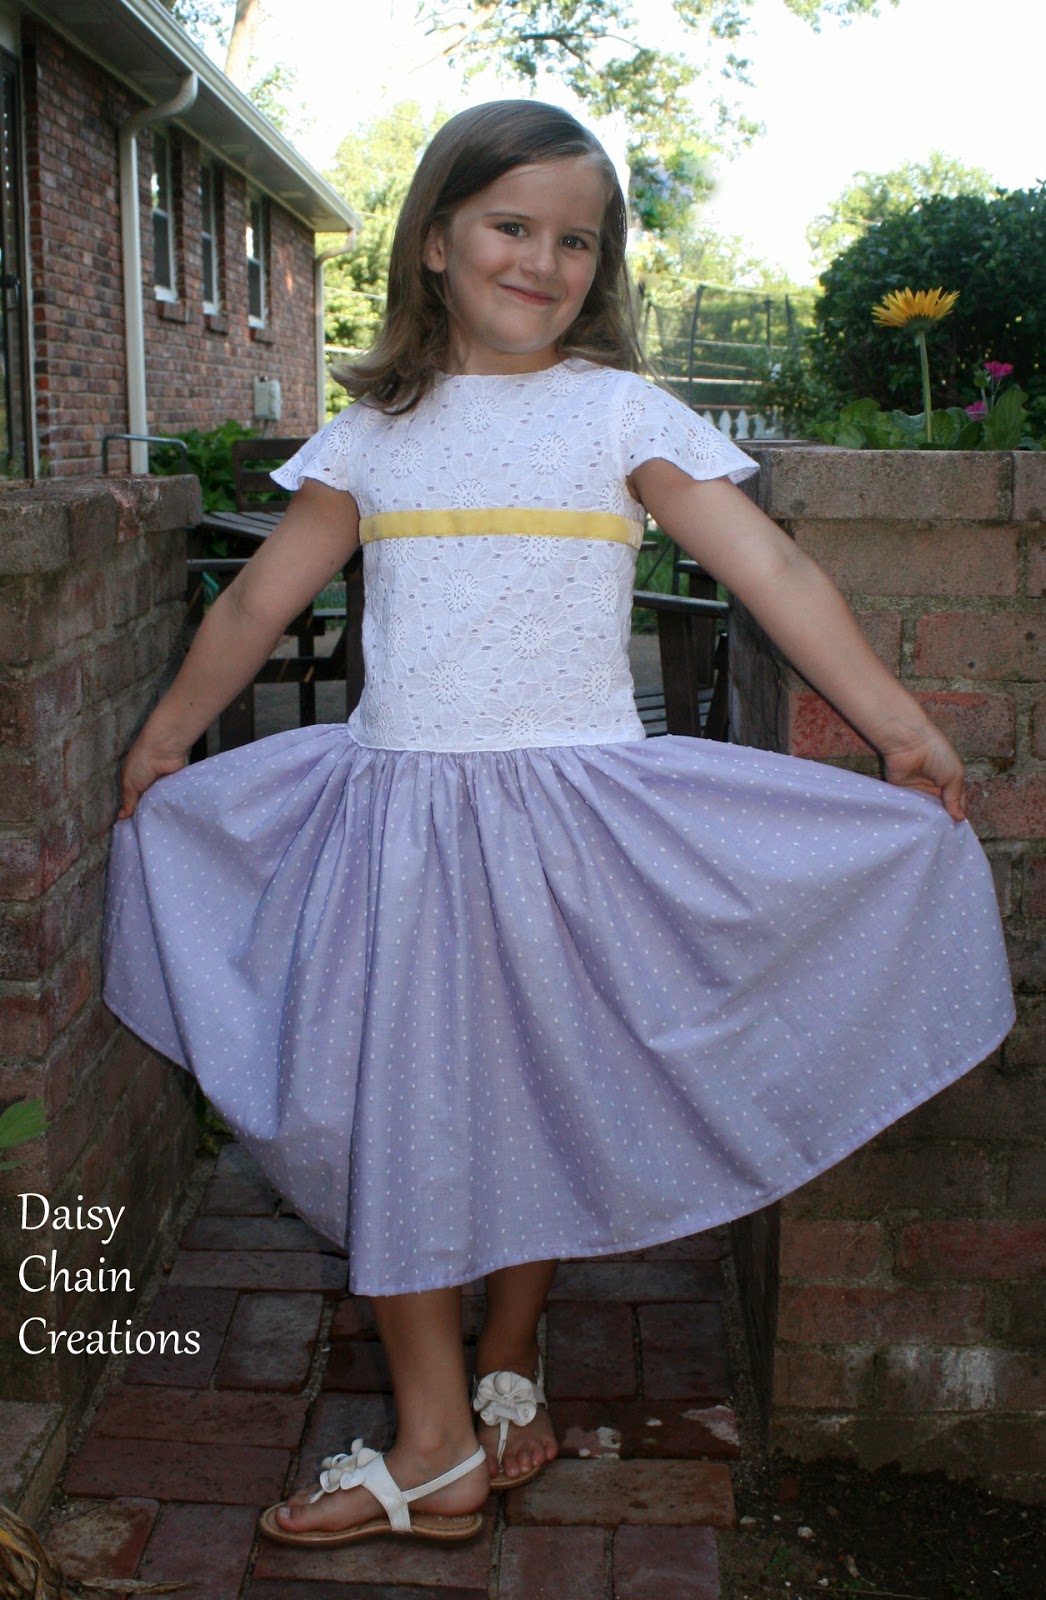
The pattern itself was a delight to work with...great illustrations and easy to follow instructions...but the finished product is the icing on the cake.  Just look how cute this dress looks! First I started with some amazingly soft Swiss dot in purple, Clara's favorite color. Then I added the lace overlay and velvet yellow ribbon for some contrast.
Then because it's a pattern tour, I had a little fun with the pattern and added a few changes, mostly to fill Clara's wishes for a dress.  The first change I made was to raise the back a little.  My girl's have never liked buttons on their backs, so I figured out a way to make it work without them.  For the sash I used velvet ribbon and just made a little bow that closes with a flat snap.
Here you can see how I altered the back. Just ignore the crazy printed lines...that was purely my fault, because I didn't know what I was doing when I printed out the pattern. Another great thing about the pattern is that you can print out just the size you need. I just forgot to click the button when I went to print and then I didn't want to waste the paper, but printed on the wrong side, which led to some confusion with all of the lines.
Another thing I did was to add a significant amount of fullness to the skirt.  I did this because part of Clara's request was that the dress be nice and twirly, but also because I just wanted to use up the great fabric and I really didn't know what else I would use it for.
One final thing that I did was to add a little fullness to the sleeves so they would be more "fluttery". Here you can see how I did that. I also just used one layer, finishing the edge of the sleeves instead of lining them, because the lace looked so pretty on it's own.
 And there you have my first version of the Matinee Dress.
As for my second version, I wanted to see if I could make it out of knit. I love how this version turned out too and Clara loves how comfortable it is.  And it did work with knit. However, the blue knit has only about 25% stretch (it was some old stuff I got from my mom) and therefore I think that is why it worked...not sure if it would really work with something that had more stretch.  I was also very generous with the seams as well, so I was probably taking in more than 3/8ths of an inch.
For the sleeves and the hem of the skirt I used a lettuce edge hem.  I also only used one layer on the sleeve again, as well as add a little to the width. And again, I raised the back piece as well.
For the sash, I used a ribbon and attached it under the arms with hooks and eyes. I was kind of perplexed on how to attach a ribbon on to the knit and keep the stretch of the knit without distorting it.
This also means the dress can be worn without the sash for a more casual look.
One final thing that I made was a braided head band from 3 strips of knit. I just sewed the ends together after braiding enough to fit her head. Again, another hit...it's nice to get 3 for 3 every once in a while.
Thanks Jenn for letting me be a part of the tour!
Now for all of the fun stuff...here's the list of who is participating on the blog tour:
Displaying Matinee Blog Tour.jpg
And here is who is contributing to the great prize package as part of the give-a-way:
Displaying Matinee Giveaway Collage.jpg
And here is your chance to win:
a Rafflecopter giveaway
Disclaimer: All opinions are purely my own, but I did receive a free copy of the pattern to try it out.

Monday, April 7, 2014

Introducing the Shortie Nightgown

Image Map
When it comes to sleepwear, this would be my signature look...comfy, classy and vintage.
Here at our house, the girls kind of prefer nightgowns to sleep in, which are almost always made by me. It's always fun to mix it up and try new patterns and ideas though...you gotta do what you gotta do to keep things interesting.  This time around I went with a vintage/old fashioned look.
As for the pattern, well I'd like to introduce to you a new nightgown plus bloomers pattern by Chelsea over at GYCT. And she's got a lovely group gathered to show you just what you can do with the Shortie Nightgown and Bloomers pattern.
It is a great staple of a pajama pattern, with several options to mix it up...top and bottom, sleeveless or with sleeves.  It was a breeze to whip up, with easy to follow instructions. And best of all, Clara loves it and says it is super comfortable!
 Like I said, she's kind of a nightgown kind of a gal, so I went with the nightgown length option. I also had this vision of an old fashion, pure white nightgown with lovely details to make it special, so I went with my vision and made it out of Kona cotton in white.
 I really wanted to add the little pleats and pin tucking details to the top, so the only change I made to the pattern was to add 4 inches to the front piece by laying the middle side of the pattern 2 inches from the fold instead of right on the fold. This allowed me to add a total of 6 pleats and 14 pin tucks to the front. Then instead of gathering it to the yoke as instructed, I only gathered the little parts left on each side. The pleats and tucks act a little like the gathering, in that it kept the front piece nice and roomy for a much more comfortable sleep. I also added lace at the sleeve and bottom hems to give it that old fashioned look. Okay, I take that back, I did change one more thing...I added 3 more inches to the bottom hem for the off the charts tall gal of mine, plus she likes them long.
 We had a little fun with this 'photo shoot' where she wanted to pretend to sleep with her favorite stuffed friends...outside.
 This is a pattern that I will definitely be making again...easy to cut and assemble, probably an hour tops. I'm actually itching to try it in a knit.
So head on over and pick yourself up a great addition to your nightgown sewing repertoire.
Chelsea's also got a great give-a-way as well as a sale (use Shortie20 for 20% off this week) going on.


Thursday, December 12, 2013

It's 'Flip' Time Again

 
 This time I flipped a pants pattern into a skirt and Sophia was the lucky recipient. If you want to read more, go check it out at Frances Suzanne!

Tuesday, December 10, 2013

Go Check It Out!

The lovely Shannon, of Little Kids Grow, just released her first pattern and I was one of the lucky ones to get to test it. It's a wonderfully simple, yet stylish button down shirt with lots of options. She's calling it the Jack & Jill Shirt. 
This versatile pattern goes from 4-12 and really does include something for everyone.
It's got 2 collar options. 
 Plus a ton of sleeve options. And just look at that pleat at the back...simple details make all of the difference.
You should go check out her big reveal over at Pattern Revolution!  And the great thing is she has more patterns to come, and she is focused on making things for the tween ages. Yeah! How she does it all though, I don't know. She is a mom of 6 with one on the way. Expect great things to come from her way.

Tuesday, November 5, 2013

Bumble Bee Dress Tour

It was my privilege to be apart of this wonderful little tour. RaeAnna just released a wonderfully versatile dress pattern and I get to be a part of the action.
Here are all of the other stops:
Maura Jean & Co|Boy, Oh Boy, Oh Boy Crafts|Pattern Revolution|Daisy Chain Creations|Get Your Crap Together|Zafarani|Welcome to the Mouse House|Designs By Sessa|Sew Like My Mom|Once Upon a Sewing Machine|Shaffer Sisters|Francess Suzanne|sewVery|Climbing the Willow|Blogs Like a Mother|House of Estrela|Rae Gun Ramblings|While She Was Sleeping|181ReUp|Feathered Ruffles
~~~~~~~~~~~~~~~~~~~~~~~~~~~~~~~~~~~~~~~~~~~~~~~~~~~~~~~~~~~~~~~~~~~~~~~~~~~~~~
Here's my little creation. I made view A, with a couple of little changes.
Since neither of my girls needed a new dress, even though the pattern goes up to size 12, I decided to make this little ensemble for my niece, which means I can't get pictures with her in it because she lives across the 'pond' way over in England.
The only thing I really changed was that when it called for ruffles, I did pleats instead.
As for the dress, this pattern came together like a dream. I think the hand embroidery took longer than the assembly of the dress. Seriously.
With 2 different options of dresses, there are many chances to make this dress your own.
For my dress, I used unbleached muslin for the bodice and a floral print from Hobby Lobby (that was actually gifted to me by these lovely ladies). 
I added the embroidery just to add a little more to the dress and the button was the finishing touch. This is my all time favorite button find and this one is my last one.
I'm kind of loving how the embroidery made the plain bodice stand out a little more and go with the other fabric instead of just fading into the background.
And just for fun I made a pair of leggings to go with the dress.  I used a t-shirt of mine that was fitting kind of funny. I just used a bloomer pattern to make up a pattern for the leggings.
And since I don't have a model for this cute ensemble here are a couple more pictures that hopefully show off how cute this pattern is.
Oh the possibilities with the Bumble Bee Dress!

So head on over to RaeAnna's blog and check out the give-a-way and the amazing pattern...it's on sale for $5 from November 4-18!

Monday, September 23, 2013

Mad for Plaid and Color Block Cardigan

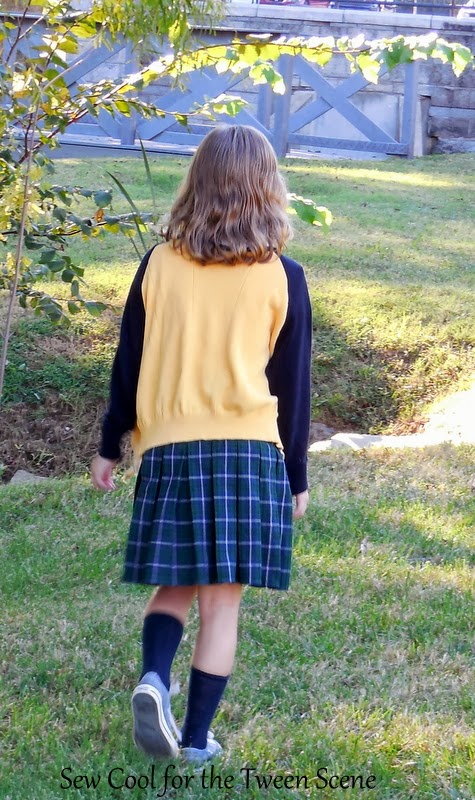
Hop on over to Sew Cool for the Tween Scene to see my how to on this skirt and color blocked cardigan.  You can also see how well you know me and my reason for loving plaid.


LinkWithin

Related Posts Plugin for WordPress, Blogger...